
Even with the cold today, I would love to be in my kayak on the river. However, not having much luck find others willing, I took the opportunity to work on the vehicle that actually gets me to the river.
I will be the first to admit, working on a vehicle is a pretty intimidating thing, at least personally speaking. Changing my own oil is about as good as it gets. I have been blessed with a previous co-worker that has done a TON to the van and without him (Nate), I would have never bought it. Well, the rear brake pads have been needing to be replaced but unfortunately, Nate recently moved. This had me rethinking this van project a bit and I started a YouTube search. I’m not sure about you but YouTube makes me feel like I can tackle any project and do date, I’ve had pretty good success learning new skills thanks to it. This time was no different.

I’d highly suggest searching for your specific vehicle but here is the quick rundown of what I needed to do for the rear brake pads on my 2005 Chevy Astro. (I found it just as cheap to buy the brake pads at a parts store as it was to order online, therefore, I purchased ceramic pads at my local store.)
- Put on your E-brake
- Loosen “lug nuts” on center plastic chevy wheel cover
- Loosen actual lug nuts (I used an extension bar that I bought at Walmart for this)
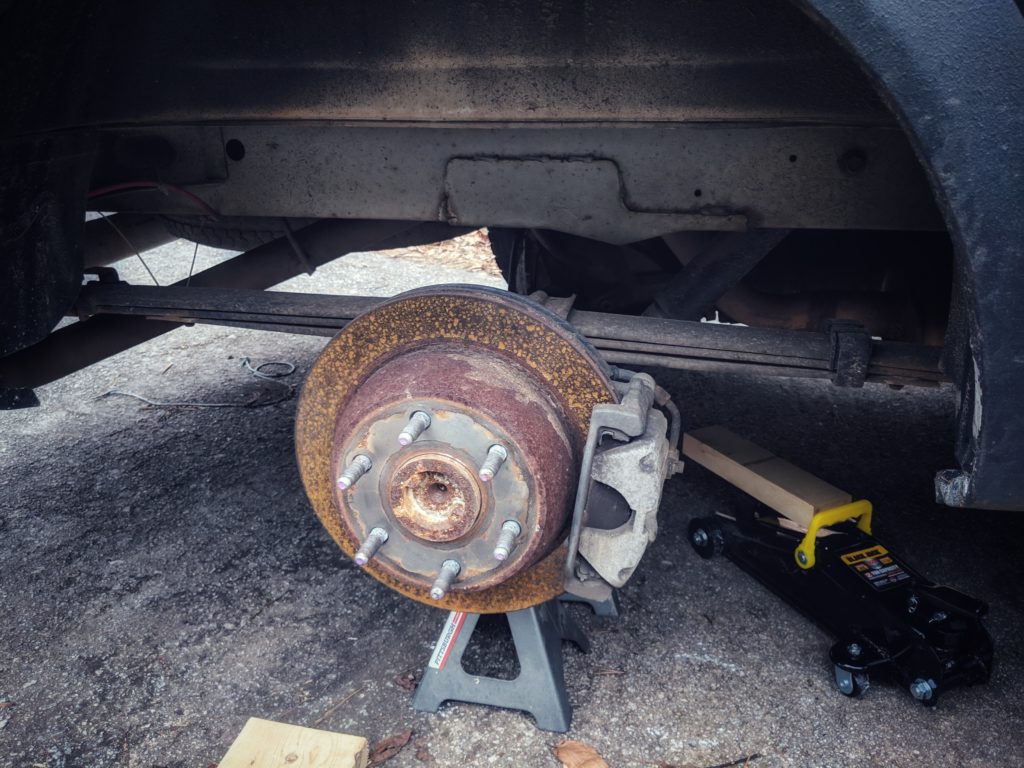
- Put the jack under the vehicle, get a piece of wood if needed, and jack that bad boy up
- Slide in your jack stands for safety
- Take lug nuts off
- Take tire off
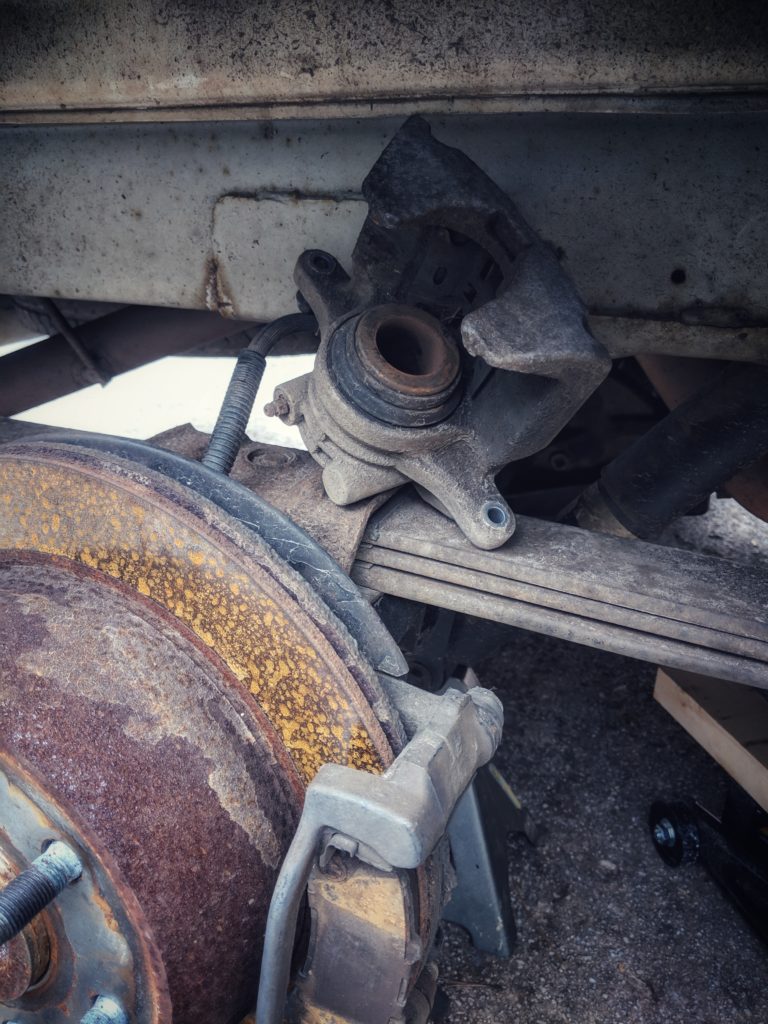
- There are two bolts that hold the caliper onto the rotor. Unscrew these. I had to use two wrenches to make this happen as my screw was just spinning. I’ll admit, this took me a bit to figure out!
- Take caliper off. One side the caliper came off easily, the other I took a rubber mallet and hit it a bit to knock it loose
- Don’t let this dangle. I put it up on top of the rotor or hung it on the leaf spring
- Take old brake pads off (mine were pretty easy to slide a screwdriver in and pop off)
- Pop new brake pads on (crazy easy)
- Before you can put the caliper on, there is a piston that needs to be compressed. I used a piece of wood and a clamp and as I tightened the clamp, the piston set into place
- Put the caliper back on
- Screw in the 2 screws that hold it on. Make sure these are tight.
- Put the tire back on. Put lug nuts on but don’t completely tighten yet
- Remove jack stands
- Release the jack (turn left)
- Tighten lug nuts
- Put plastic cap back on and tighten these bolts. Make sure to not over-tighten these.
- Boom. Done.

Tire off; brake pads on R Caliper on leaf spring My work buddy

Personally, this was a pretty empowering experience for me. I hate to fall into the stereotypes, but mechanics has not been a topic that I thought “Yeah, I can do that!” I am not about to work on the engine anytime soon but for the more simple things, I think I will continue to rely on YouTube and not be so afraid to learn some of the “easy” jobs on this van.
If you have something that needs done and you are curious and into the DIY thing, give it a shot. It could save you a fair amount of money and make you feel like a badass all at the same time!


